Selection Guide
Width Selection
PVC ceiling panels come in four common widths: 200mm, 250mm, 300mm, and 400mm. Choosing the right width requires considering the following factors:
- 200mm width: Suitable for small areas such as bathrooms and kitchens, with fine joint lines and a refined visual effect.
- 250mm width: The most commonly used specification, with wide applicability and excellent value.
- 300mm width: Suitable for medium-sized living rooms and bedroom ceilings, reducing the number of joints.
- 400mm width: Suitable for large commercial spaces, with high installation efficiency and a grand overall effect.
Thickness Selection
PVC ceiling panel thickness typically ranges from 7-10mm. Thickness selection mainly depends on the application scenario and budget:
- 7mm: Economy option, suitable for rental properties and low-budget projects.
- 8mm: Standard thickness, the preferred choice for residential and general commercial installations.
- 9-10mm: Premium option with higher strength, suitable for projects with high quality requirements.
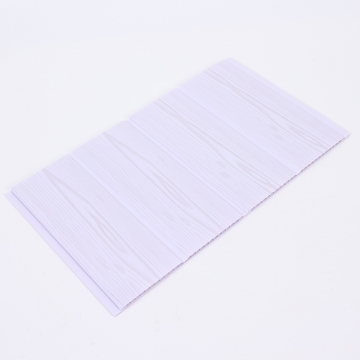
Surface Finish Options
The surface treatment process of PVC ceiling panels directly affects their appearance and service life:
- Lamination: Decorative film is applied to the panel surface through heat pressing. Offers a wide variety of designs at moderate cost. Suitable for most indoor scenarios.
- Transfer Printing: Patterns are transferred to the panel surface through heat transfer technology. More refined and realistic textures with good durability. Suitable for projects pursuing high-quality effects.
- UV Coating: UV-cured coating applied to the panel surface provides the best abrasion and stain resistance with adjustable gloss levels. Suitable for commercial and high-end residential projects.
Six-Step Installation Process
Step 1: Measurement and Marking
Use a laser level to mark the ceiling installation height line on the walls, ensuring horizontal deviation does not exceed 2mm. Determine the panel laying direction, typically recommended parallel to the room's longest dimension.
Step 2: Install Edge Trim
Install aluminum alloy edge trim along the level line, secured with expansion bolts at intervals no greater than 300mm. Corner joints require precise 45-degree cuts to ensure tight seams.
Step 3: Install Framework
Install main and secondary furring channels. Main channel spacing is 800-1000mm, secondary channel spacing is 300-400mm. Use hanger rods to secure channels to the floor slab and adjust for level.
Step 4: Install Panels
Begin installing PVC panels from one end sequentially. The tongue edge of the first panel inserts into the edge trim, and subsequent panels connect through tongue-and-groove joints. Continuously check for flatness during installation.
Step 5: Cut-Outs
Based on the positions of light fixtures, exhaust fans, and other equipment, make cut-outs in the corresponding panels. Use dedicated hole cutters to ensure clean circular cuts and prevent panel cracking.
Step 6: Final Inspection
The last panel must be cut to fit the actual dimensions. After installation, conduct a comprehensive check of flatness, gaps, and fastening to ensure no looseness or visible defects.